Tuesday, September 27, 2011

10% Done, maybe - 92 Hours

The Wharram estimated time to build a Tiki 30 is 900 hours, as of today we passed 90 hours. But how can you tell if your really 10% done? Here is where we stand at this point:
Keel backbones are done.
Stem posts done.
Stern posts done but for final drilling for rudder hinges.
Lower hull sides for one hull cut out and partially epoxy coated and the aft two sections are butt joined.
Rudders are laminated and marked for drilling.
Couple bulkheads drawn ready to be cut out.

Just doesn’t feel like much of a milestone. I think a truer milestone will be first hull in it’s stands with bulkheads installed and in theory at least able to float like a boat and not just a pile of wood.

Saturday, September 24, 2011

Rudder Hinges - 80 Hours


In the boating world lexicon these rudder hinges are called pintle and gudgeons but Wharram has developed an ingenious rope hinge. The rope is drawn through matching five holes (in the stern post and rudder) in a figure 8 fashion.

Since end grain plywood is hard to seal I have decided to follow other Tiki builders and make an epoxy channel in to which I’ll drill the holes for the rope later. This task also called for new tools and skills.

The first picture is the fourth channel I made, each one looking better. These are the slowest and most tedious items up to this point of the build and there are 16 of them for the two rudders.

My first attempt was using a drill, jigsaw and chisels. Not a great method, the jigsaw blade is too bendy going through 30-mm straight and using chisels to clean out the slot and the edge recess was slow.

My final approach, at this point, is to use a router to cut the 3-mm indentation on the edge. Then drill one half inch hole and use the router to open up the channel. Then I come back with the chisels to clean up edges and such and then sanding to complete. The good news is much faster but the router is powerful and can take a chuck of wood away in a split second.

I decided to pour epoxy tonight before finishing up the details on the hinges. I’ll do another pour in the morning to finish off.

Scott Williams on his Tiki 26 did a really nice job of laying teak inserts on the edges as wear surfaces. I’m afraid my skills aren’t up to that task yet so I plan to apply a small piece of kevlar over the edge when I glass the whole area.

Sunday, September 11, 2011

Be Prepared - 42 Hours

Not much exciting happening the past few days, just draw, cut, glue and repeat. But one important lesson did pop up sometime this week. Always double check the orientation of parts that are laid out to be assembled.
The way we work is to lay out the parts to be laminated together, in this case a keel side and the backbone assembly. Then using Raka 127 epoxy resin with the 606 slow hardener we coat the raw wood of the surfaces to be joined. These surfaces are allowed to set for several minutes while we’re typically doing some other last minute task. Then a thickened epoxy mixture is made up and applied to one surface, the keel piece in this case, and that is then flipped over and clamped to it’s mate, in this case to the backbone.
The problem was that somewhere between the initial decision to glue these two parts together and laying them out and the actual applying of epoxy the keel side got flipped! So I applied epoxy and thickened epoxy what is the outside of the keel not the side to be glued to the backbone. This wasn’t noticed until we were ready to pick it up and flip it in to place, Doh!! 
Luckily we had used the 606 slow hardener with the thickened epoxy and it was an easy matter to scrape it off the keel and apply it to the backbone. Then we just flipped the keel over on the workbench, the workbench is covered with plastic that the epoxy will not stick to, and proceeded to apply plain epoxy to the keel. So in the end we just ended up with one keel side with an early coat of epoxy.
Had we been using the 610 fast hardener things may have been different. When mixing just a quarter cup of that it will start to kick, get hot, in the cup in under 10 minutes with a room temperature of about 65 deg F.

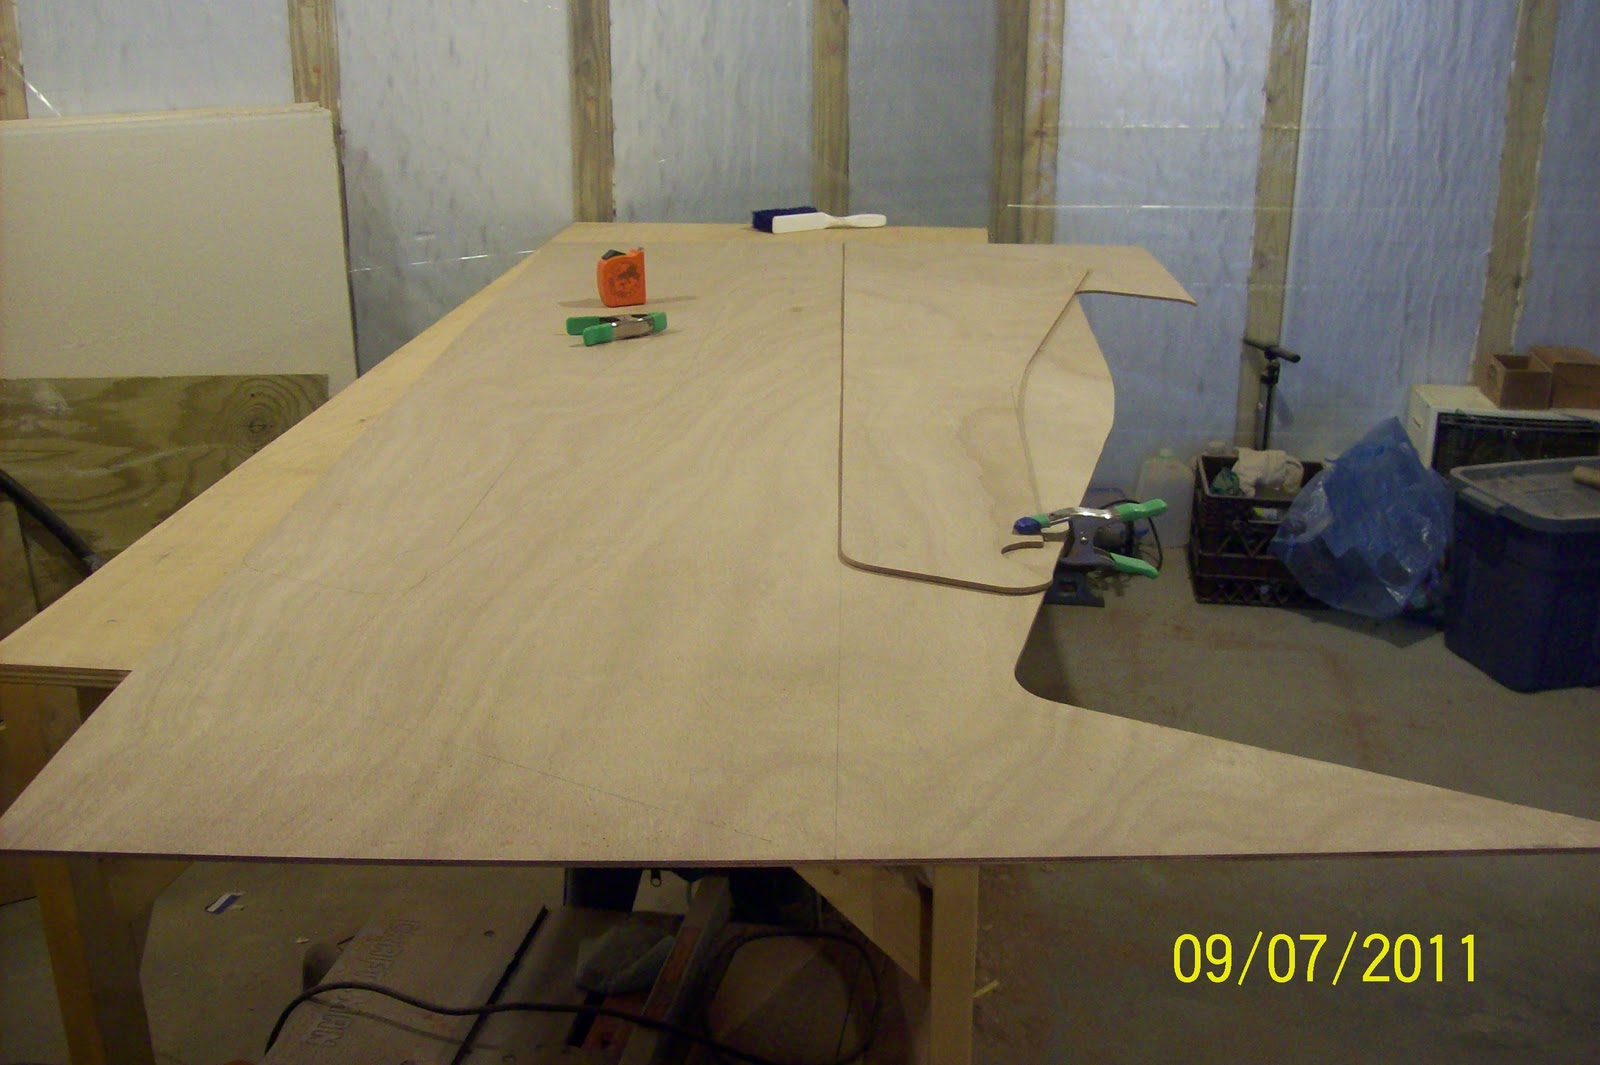
Oh, and the picture has nothing to do with the described event, it just shows the interesting scrap pieces of wood that are generated when 8 copies of the rudder are cut out.

Wednesday, September 7, 2011

Missed it by (5mm) That Much - 34 Hours


I have decide to jump ahead a bit and start the build of the rudders while various pieces of the keel and stem post soak up some epoxy. As part of the build plans there is one sheet that shows the layout of all parts built out of plywood. This layout is to minimize waste. This means that many parts are butted against each other on the layout of a sheet of plywood.

Four copies of the rudder are cut out of a sheet. Transferring the drawing of the rudder to the plywood was simple enough it’s just that in cutting out the first one I went a little wide at the two points where the copies meet. Luckily my cut was on the 6mm plywood that attaches onto two layers of 9mm(rudder is 30mm thick). The luck is the lower part of the rudder is planed down on the trailing edge effectively making the 6mm pieces a few mm narrower so that in the end the 5mm goof will vanish into wood shavings.

Lesson Learned: When parts are shown touching in the layout and take up an entire dimension of the plywood, triple check measurements and cut on the line where the points meet. If I can’t determine exact measurements, then as Wharram suggests, build a template first to test fit on the expensive plywood.

Sunday, September 4, 2011

18 mm Plywood - 28 Hours

If speed is more important than cash then I would suggest buying one sheet of 18-mm plywood instead of two sheets of 9-mm to build the Stem and Stern Posts. With the 9-mm two copies of the stem and stern posts must be laminated together to get the 18-mm thickness shown in the plans. In the pic the two stem posts are complete and one stern post is cut and ready for gluing.

My guess would be that at least an extra two hours were needed to build up these parts as opposed to just cutting out of a single piece of 18-mm. I had priced the 18-mm but I don’t remember the cost difference between 1 sheet of 18 vs 2 sheets of 9, but it must have been enough to trigger my frugality alert.

Friday, September 2, 2011

Clamps - 21 Hours

You can never have too many clamps when boat building! Here are 30 brand new Harbor Freight bar clamps put in to action! The 20 6-inch bar clamps are on the keel and the other 10 12-inch clamps are on the Stem Post (forward most part where the hull sides come together) on the far side of the table. I have to crawl under the table to use that side, but using a moving dolly it’s not too bad to scoot under. It also really helps that Donna is on the front side mixing epoxy for me so I don’t have to scoot back and forth.